Understanding Clothing Defects: Critical, Major, and Minor
Understanding the classification of clothing defects into Critical, Major, and Minor is essential for maintaining…
These are test items that NBNQC inspectors can select when performing quality control in suppliers’ factories. They can choose a combination of tests tailored to specific products and quality requirements, thus ensuring product safety, functionality, and durability. In the course of extensive practical application, it is also continuously updated. Contents1 Garment and Apparel2 Footwear3 Bags […]
These are test items that NBNQC inspectors can select when performing quality control in suppliers’ factories. They can choose a combination of tests tailored to specific products and quality requirements, thus ensuring product safety, functionality, and durability. In the course of extensive practical application, it is also continuously updated.
Contents
Adhesive test –
Expect result:
There should not be any peel off after the tape is removed, nor any color transferred onto the tape.
–Sample size S1
Barcode scan test – Use barcode scanner and laptop if possible.
–Sample size S2
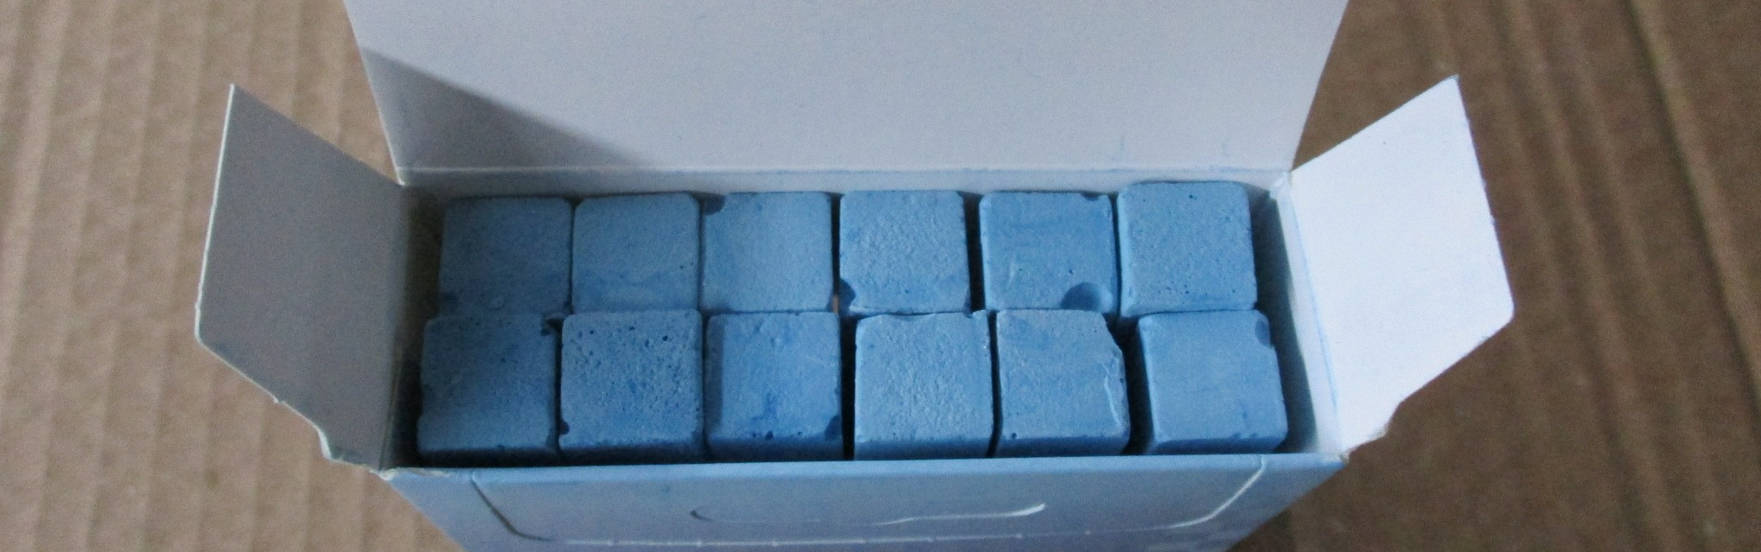
Fabric weight test – Take a piece of fabric with a diameter of 10cm from testing sample, weigh it with a high-precision electronic scale and record the results. The result must the same as client specification.
–Sample size 1 pcs
Carton assortment check – the actual quantity packed (for each color and size) must conform to packing list and shipping mark.
–Check 3 cartons per item
Color shading check – put the inspected pieces next to each other; Identify the deviation in color from one sample to the other; Check the color shading against the approved sample or production sample.
The deviation should be within the acceptable range as per the specifications, if there is no specification available, use grey scale 2 as the acceptable limit.
–Sample size: Minimum check 4 pairs/ color.
Color fatness test –
1. Rub the product or label with a dry white cotton cloth ten times over a 10 cm distance with a force of 9N (1 Kg). There shall be no color transfer greeter than 4 on a grey scale (between the original white cloth and the colored one) after the dry test.
2. Rub the product or label with a white cotton cloth soaked with water and ten times over a 10 cm distance with a force of 9N (1Kg). There shall be no color transfer greater than 3-4 on a grey scale.
(follow client’s specification).
Expect result:
The product or labels print shall stay fixed onto its surface and not dull or peel away. (be damaged)
–Sample size S1
Fitting test – verify the shape and line of the garment are normal, whether there is any twist, deformation, it can be use the models or directly try on the human body.
–Sample size S1
Function test (accessories) – repeatedly use the product and its adjustable parts (zip, fastener, velcro etc.) to the full extent of their capacity for 20 cycles.
Expect result: The product or accessories shall not break, deform or be damaged in anyway after use and it should still function normally.
–Sample size S1
Needle Damage & Seam strength check – Pull the seams by hand using force (70N for 10s) to check:
Check at least 3 areas on a sample. Inspector’s thumbs have to be close to the seam line and should have a round movement with hands in order to show the stitches correctly.
–Sample size S2
Needle detection test – 1. Test the needle detection equipment to ensure its sensitivity; 2. The front and back of the product should be tested once each, and the product shall be placed in the middle of the conveyor belt. 3. Check whether the product has broken needles or any metal debris.
–Sample size S4
Smell check – Smell the product, checking for any odor and compare to the approved sample.
Expect result: no offensive or unexpected odor.
–Sample size S2
Stitch length check – count the number of stitches pre inch and then compared to specification or approved sample.
–Sample size S1
Strength test (accessories) – pull zip, button, snap, or other accessories with the specified force and duration.
Expect result: The product or accessories shall not break, deform or damage in any way during or after test.
–Sample size S1
Stretch test (for elastic and knitted fabric)– Stretch the garment on the waistband, side seam or other elastic band to check the elasticity of the garment.
Expect result: No elastic fibers or stitches broken.
–Sample size S2
Stuffing material check – check the stuffing materials, and compare it with approved sample or client specification. The material shall be consistent.
–Sample size S1
Symmetry check – check if the sleeves, collar, shoulders, pocket design are symmetric- measure the dimensional deviation if found twist and any asymmetric.
–Sample size S2
Carton assortment check – the actual quantity packed (for each color and size) must conform to packing list and shipping mark.
–Check 3 cartons per item
Symmetry check – Check the shoes by pair from the top view, heel view, medial/lateral side views, and bottom view -1. Heel/collar height are the same between left shoe and right shoe. Or, heel heights are within 2 mm of spec. 2. Confirm that the outsoles are of the same length by aligning the pair together from heel to toe 3. The toe-spring should be same between left shoe and right shoe. – measure the dimensional deviation if found any asymmetric.
–Sample size S2
Needle Damage & Seam strength check – Pull the seams by hand using force (70N for 10s) to check:
Check at least 3 areas on a sample. Inspector’s thumbs have to be close to the seam line and should have a round movement with hands in order to show the stitches correctly.
–Sample size S2
Color shading check – put the inspected pieces next to each other; Identify the deviation in color from one sample to the other; Check the color shading against the approved sample or production sample.
The deviation should be within the acceptable range as per the specifications, if there is no specification available, use grey scale 2 as the acceptable limit.
–Sample size: Minimum check 4 pairs/ color.
Color fatness test –
1. Rub the product or label with a dry white cotton cloth ten times over a 10 cm distance with a force of 9N (1 Kg). There shall be no color transfer greeter than 4 on a grey scale (between the original white cloth and the colored one) after the dry test.
2. Rub the product or label with a white cotton cloth soaked with water and ten times over a 10 cm distance with a force of 9N (1Kg). There shall be no color transfer greater than 3-4 on a grey scale.
(follow client’s specification).
Expect result:
The product or labels print shall stay fixed onto its surface and not dull or peel away. (be damaged)
–Sample size S1
Adhesive test –
Expect result:
There should not be any peel off after the tape is removed, nor any color transferred onto the tape.
–Sample size S1
Bend or flex test – Bend or flex the shoe in the forefoot area to check to the flexibility. Try to flex it 10 times, confirm that there are no bond gaps, cracks, or damage; the heel flexibility should be at the right position; Not too hard or too flexible and do not create noise.
–Sample size S1
Function test (accessories) – repeatedly use the product and its adjustable parts (zip, fastener, velcro etc.) to the full extent of their capacity for 20 cycles.
Expect result: The product or accessories shall not break, deform or be damaged in anyway after use and it should still function normally.
–Sample size S1
Strength test (accessories) – pull zip, button, snap, or other accessories with the specified force and duration.
Expect result:
The product or accessories shall not break, deform or damage in any way during or after test.
–Sample size S1
Heel flexibility test – Flex the shoe 10 times. The heel flexibility should be at the right position, not too hard or too flexible and do not create noise.
–Sample size S2
Heel attachment strength test – (high hell shoes).
1. Pull the top piece with pull gauge 15N, it shall no loose or off. Do it by hand if the pull gauge not available.
2. Try to twist the top piece, it shall not move.
3. The top piece must be centered and not skewed, no gap between top piece and heel, and the shoes must be stable on a flat surface.
–Sample size S1
Smell check – Smell the product, checking for any odor and compare to the approved sample.
Expect result: no offensive or unexpected odor.
–Sample size S2
Barcode scan test – Use barcode scanner and laptop if possible.
–Sample size S2
Wear test – put on the shoes with insole or sockliner, tighten it up to check if the shoe feels comfortable. Walk around ground to check the overall fitting. -No area hurt, and feels comfortable– Check one pair per reference. To client: this fitting check is not 100% reliable.
–Sample size S1
Stuffing material check – check the stuffing materials, and compare it with approved sample or client specification. The material shall be consistent.
–Sample size S1
Carton assortment check – the actual quantity packed (for each color) must conform to packing list and shipping mark.
–Check 3 cartons per item
Carton drop test – Carried out according to ISTA 1A procedure.
–Sample size 3 cartons
Function test – repeatedly use the product and its adjustable parts (zip, fastener, velcro etc.) to the full extent of their capacity for 20 cycles, or following the client’s specifications if there is any.
Expect result: The product or accessories shall not break, deform or be damaged in anyway after use and it should still function normally.
–Sample size S1
Loading test – 1. Load the bag with 1.5 x nominal loading weight (if no nominal weight, use 5 kgs). 2. Hold the bag (by the handle, shoulder strap, both top and bottom) and shift the loaded bag: up and down, left and right.
Expect result: there should be no damage or breakage.
–Sample size S1
Seam strength test – pull the product by hand with a force of 20N at the seam location to test the strength of the seam. Or following up client specification.
Expect result: the seam shall not break.
–Sample size S2
Color fatness test –
1. Rub the product or label with a dry white cotton cloth ten times over a 10 cm distance with a force of 9N (1 Kg). There shall be no color transfer greeter than 4 on a grey scale (between the original white cloth and the colored one) after the dry test.
2. Rub the product or label with a white cotton cloth soaked with water and ten times over a 10 cm distance with a force of 9N (1Kg). There shall be no color transfer greater than 3-4 on a grey scale.
(follow client’s specification).
Expect result: The product or labels print shall stay fixed onto its surface and not dull or peel away. (be damaged)
–Sample size S1
Adhesive test –
Expect result:
There should not be any peel off after the tape is removed, nor any color transferred onto the tape.
–Sample size S1
Strength test (accessories) – 1. pull zip, button, snap, or other accessories with the specified force and duration. 2. Press, pull and twist the product or part by the specified force and duration, following the client specifications.
Expect result:
The product or accessories shall not break, deform or damage in any way during or after test.
–Sample size S1
Smell check – Smell the product, checking for any odor and compare to the approved sample.
Expect result: no offensive or unexpected odor.
–Sample size S2
Barcode scan test – Use barcode scanner and laptop if possible.
–Sample size S2
Balance test – lift the product by the handle to check the balance of the product.
Expect result: the product shall be well balanced.
–Sample size S2
Stuffing material check – check the stuffing materials, and compare it with approved sample or client specification. The material shall be consistent.
–Sample size S1
Stitch length check – count the number of stitches pre inch and then compared to specification or approved sample.
–Sample size S1
Waterproof test – perform this test follow the client specification.
–Sample size S1
Fabric weight test – Take a piece of fabric with a diameter of 10cm from testing sample, weigh it with a high-precision electronic scale and record the results. The result must the same as client specification.
–Sample size 1 pcs
Fatigue test – Repeatedly use adjustable parts of the product, such as zippers, buttons, hook & loop, hinge etc., for 20 times. The product or part shall not be damaged, deformed or lost function after test.
–Sample size S1
CDF check –
Executing a CDF (Construction Data Form) check is a critical part of ensuring that electronic and electrical products are constructed according to the approved specifications and meet all safety and quality standards.
–Sample size 3 Pcs
Internal safety check –
–Sample size S2
Carton drop test – Carried out according to ISTA 1A procedure.
–Sample size 3 cartons
Capacity check – weighting the item or by using a capacity gauge.
Expect result: must conform with the specifications.
–Sample size 3 Pcs
Rub and Adhesive test – Preform a rub test for rating label and adhesive test for printing, marking and logo. Use a white cotton cloth to rub the rating label for 15 seconds with water, then for 15 seconds with petroleum spirits or alcohol. Use 3M tape for the adhesive test on the silk-screening and painting.
Expect result: There should not be any peel off after test, nor any color transferred onto the tape or cloth.
–Sample size 3 pcs
Function test – 1. Test the power On/Off function. 2. Test the function of all buttons on the item. 3. Test all other detailed functions listed on the item’s box and instruction manual. 4. Test the function of the thermostat.
–Sample size S2
Fatigue test – Repeatedly use all of the adjustable parts of the product, such as switch, button hinge etc., for 20 times. The product or part shall not be damaged, deformed or lost function after test.
–Sample size S1
Hi Pot test – perform the hi pot test according to EN60335-1. Take clear pictures for following information: AC/DC socket, Requested voltage and calibration label.
–Sample size S2
Earth continuity test – please perform it if applicable, and take clear pictures.
Expect result: < 0.1Ohm.
–Sample size S2
Power consumption test – The result of the test should be within +5% to -10%. The voltage input should be the same as rating voltage in rating label, otherwise the result of power consumption will not be accurate.
–Sample size S1
Stability test – on a surface inclined to 15 degrees (use your smart phone to measure the degrees), put the product on this surface to see if it is placement stable. Please take clear picture to show it.
–Sample size S1
Pull test (power cord) – pull on the cord for 25 times in 1 minute (If the product has a net weight <=1kg, use a force of 30N; if the product has a net weight >1kg and <=4kgs, use a force of 60N; if the product has a net weight >4kgs, use a force of 100N), the cord should not be displaced more than 2mm. Note: before starting the test, inspector should pull the cord several times to make sure that no rolled cord inside the product.
–Sample size S1
Barcode scan test – Use barcode scanner and laptop if possible.
–Sample size S2

In order to ensure that the products conform to the industry standards and laws and regulations of the target market, we should carry out a series of tests on the safety, durability, functionality and other aspects of the products during the pre-shipment inspection of plush toys. Here’s a regular plush toy test for readers’ reference:
Torque & Pull Test
Instruments required for testing: stopwatch, torsion pliers, long nose pliers, torsion device, tension meter. (Note: Choose the right tool according to the sample)
A. European EN71 standard
(a) Torsion test procedure: apply clockwise torque force to the component within 5 seconds, twist to 180 degrees (or 0.34nm), hold for 10 seconds. Then return the component to the original relaxed state and repeat the above process counterclockwise.
(b) Tensile test steps: ① Small PARTS: the size of the SMALL PARTS is less than or equal to 6MM, apply 50N+/-2N force. If the small part is greater than or equal to 6MM, 90N+/-2N force is applied, and both of them are pulled to the specified strength at a uniform speed in the vertical direction within 5 seconds, and the force is maintained for 10 seconds. ②SEAMS: Apply 70N+/-2N force on the stitches, the method is the same as above, pull to the specified strength within 5 seconds, hold for 10 seconds.
B, American standard ASTM-F963
Tensile test procedures (for Small Parts and SEAMS):
(a) 0 to 18 months: pull a force of 10LBS in the measured part at a constant speed in the vertical direction within 5 seconds, and hold it for 10 seconds.
(b) 18 to 96 months: within 5 seconds at the measured site, pull a force of 15LBS at a constant speed in the vertical direction, and hold it for 10 seconds.
C. Judgment criteria
After the test, there should be no fracture, crack, or small parts or contact points in the tested parts.
Drop Test
Equipment: EN floor.
Standard: European EN71 standard
Test procedure: Drop the toy from 85CM+5CM to EN floor in the strictest direction for 5 times.
Criteria: the contactable drive mechanism should not be damaged, resulting in contact points, and the toy should not produce leakage of the inner filler caused by or bursting cracks in the small parts.
Impact Test
Instrument: diameter of 80MM+2MM, weight of 1KG+ 0.02kg steel weight.
Standard: European EN71 standard
Test procedure: place the most vulnerable position of the toy on a horizontal steel plane, and hit the toy once from 100MM+2MM height by free fall with a weight.
Criteria: the contactable drive mechanism should not be damaged, resulting in contact points, and the toy should not produce leakage of the inner filler caused by or bursting cracks in the small parts.
Compression Test
Standard: European EN71 standard
Test procedure: place the toy on a horizontal steel surface with the part being tested on top. The pressure of 110N+5N is applied to the measured area by a rigid metal indenter with a diameter of 30MM+ 1.5mm for 5 seconds, and the pressure is maintained for 10 seconds.
Criteria: the contactable drive mechanism should not be damaged, resulting in contact points, and the toy should not produce leakage of the inner filler caused by or bursting cracks in the small parts.
Metal Detector Test
Instruments and equipment: metal detector.
Test scope: for soft stuffed toys (no metal accessories), in order to avoid harmful metal objects hidden in the toys, causing harm to users, improve the safety of use.
Test steps:
a. Test the normal working state of the metal detector — small metal objects can be placed in the metal detector, run the inspection, check whether there is an alarm and automatically stop the operation of the instrument, proving that the metal detector can work normally;
Smell Test
Test procedure :(for all accessories, accessories, etc. on the toy) hold the test sample about 1 inch from the nose and smell the degree of odor. Such as abnormal smell for unqualified, otherwise for normal.
Dissect Test
Test procedure: Dissect the test sample to see the condition of the filling inside.
Judgment criteria: whether the filling material inside the toy is new and clean. The loose material of the stuffed toy shall not contain bad materials infested by insects, birds, rodents or other animal parasites, nor shall there be dirt, impurity materials, such as some debris and other sundry materials filled inside the toy.
Function Test
Plush stuffed toys it has some practical functions of the project, such as: the joint type of toys whose limbs must be able to flexibly rotate activities. The body of a thread-joint toy is designed to achieve the corresponding degree of rotation, and all other functions that the toy should have.
Carton assortment check – the actual quantity packed (for each color and size) must conform to packing list and shipping mark.
–Check 3 cartons per item
Adhesive test –
Expect result:
There should not be any peel off after the tape is removed, nor any color transferred onto the tape.
–Sample size S1
Smell check – Smell the product, checking for any odor and compare to the approved sample.
Expect result: no offensive or unexpected odor.
–Sample size S2
Function test –According to the instructions or client’s spec. run all the features of the testing sample and push them to the limit, repeat 12 times.
Expect result: the tested sample without damage, all functions can operate normally
–Sample size S1
Waterproof test – According to the specified waterproof rating, determine the water pressure, whether static or dynamic, and the testing duration.
Expect result: After the test, the sample has no damage, and all functions are normal.
–Sample size S1
Stuffing material check – check the stuffing materials, and compare it with approved sample or client specification. The material shall be consistent.
–Sample size S1
Carton drop test – Carried out according to ISTA 1A procedure.
–Sample size 3 cartons
Capacity check – weighting the item or by using a capacity gauge.
Expect result: must conform with the specifications.
–Sample size 3 Pcs
Barcode scan test – Use barcode scanner and laptop if possible.
–Sample size S2